


 tkkim@hotmail.com

Proud Member of :

Canadian Kendo Federation


Interesting Links
Media & Trivia
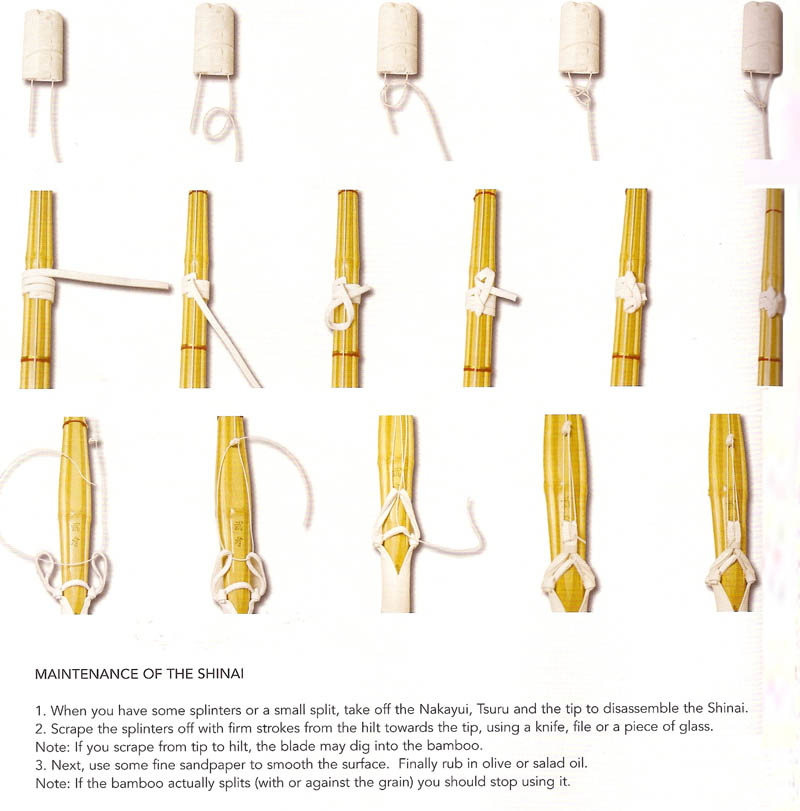
How to Prepare your Shinai Before Use
We have compiled this tutorial videos in order to guide you better, we hope you find them useful.
Maintenance & Assemble
(Info thanks to the Halifax Kendo Club)
New shinais have sharp edges that can splinter easily, so before you use your new shinai you need to prepare its slats. They are usually quite dry and should be oiled.
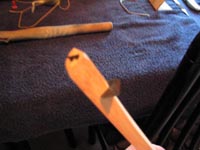
First, disassemble your shinai, and remove the Leather handle (Tsuka-Gawa). Look at the edges of the bamboo slat. You'll notice that they come to a sharp edge. These must be sanded down so that they form a rounded edge on both sides of all four slats.
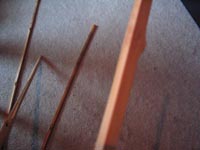
When new, shinai slats have sharp edges, After sanding them, they should be rounded. |
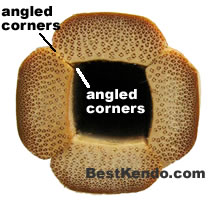 The angled edges in a new shinai are the surfaces that will either break |
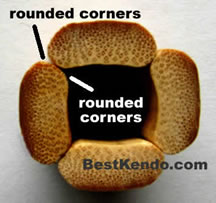 Sand all the angled edges inside and out. Provides protection from splinter damage caused by angled edges of a new shinai. |
Next, you must oil your shinai; any light oil will do. There are two methods I will show. One is for a new, dry shinai and the the other can be considerd a "maintenance" oiling.
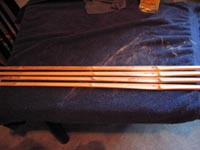
1.Untreated Shinai. Lay the slats out on a towel, with the inside of the slat facing up. Pour oil into each of the grooves on each of the slats and let it sit for a few hours. Add more oil as it is absorbed by the bamboo and continue this for about three days. |
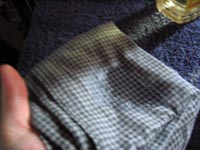
2.Maintenance Oiling. Pour some oil onto a cloth (be generous) and rub it onto the slats of the shinai. You do not need to disassemble the shinai for this. |
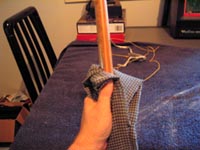
Wipe off the excess when done. This should be done at least once or twice a month, depending on how dry the shinai is. |
How to Sand your Shinai
Shinai Care and Maintenance
Splinters and cracks are (unfortunately) going to occur on the slats of your shinai. While the shinai slats are strong, they are not indestructable. But, with proper care and maintenance, they can last quite some time.
However the important aspect of shinai maintenance is not shinai life-span, but the safety of your fellow kendoka. A broken or splintered shinai slat is very dangerous, and under no circumstances should they be used. Here is a quick guide on how to repair and maintain your shinai against cracks and splinters.
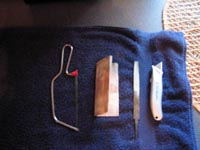
Some of the tools you'll need for shinai repair are :
|

Examine your shinai carefully before, after, and even during your practice. Making this a habit will help you detect splinters. |
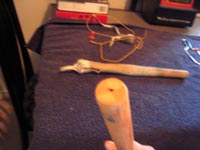
Remove the string (Tsuru) (you can leave the leather bits attached to it on) and then pull off the leather handle (Tsuka-gawa). You may have to twist this as you pull it to loosen it. |
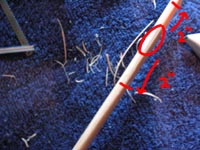
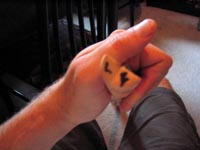
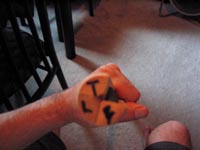
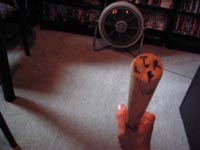
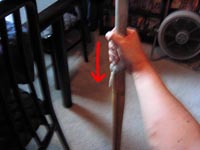
While still holding the shinai together with your hand, use a pen or marker to label the different slats on the shinai: Top, Left, Bottom, and Right or whatever labels you want to use. |
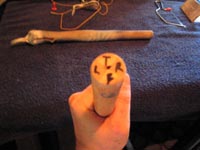
We'll use these labels to put the shinai back together in the proper order later. IT MAKES A DIFFERENCE! So be sure not to skip this step. |
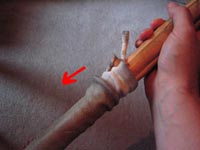
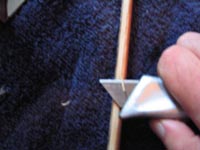
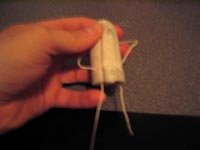
Gently pry the shinai slats apart. They are held in place by a small square piece of metal in the handle, shown below. DO NOT LOSE THIS PIECE OF METAL! If it stays in one of the slats, leave it there. If it comes out completely, set it aside in a safe place. |
Now, take the damaged slat and locate the splinter. Optional: use a utility knife to cut away any large splinters from the bamboo. |
Be careful! Bamboo cuts VERY easily (aswell as your fingers!) so take care not to cut deeply with the knife or you'll end up making a large gouge in your shinai. A file or sand paper will do the same job as a knife, they just require a bit more elbow grease. |
Use your file or sandpaper to remove any splits / splinters. |
Be sure to sand 5cm (2") above and below the damaged area using a long, smooth motion. |

Voila! Your slat is as good as new! |
Now, re-assemble your shinai using the labels you marked earlier. |
Be sure you squeeze the slats firmly onto the metal square. |
Make sure they are in the proper order. |
Then pull the Tsuka-gawa back onto the shinai firmly, making sure it goes all the way on. |
How to Re-Tie Your Shinai
Maintaining your Shinai is necessary to keep it in good working order. When practicing with a Shinai, the leather piece, Nakayui, and the string, Tsuru, that hold the bamboo slats together will loosen and stretch. So will the leather handle or Tsuka gawa. These must be re-tied on a regular basis to compensate for this, else you risk damaging your shinai.
|
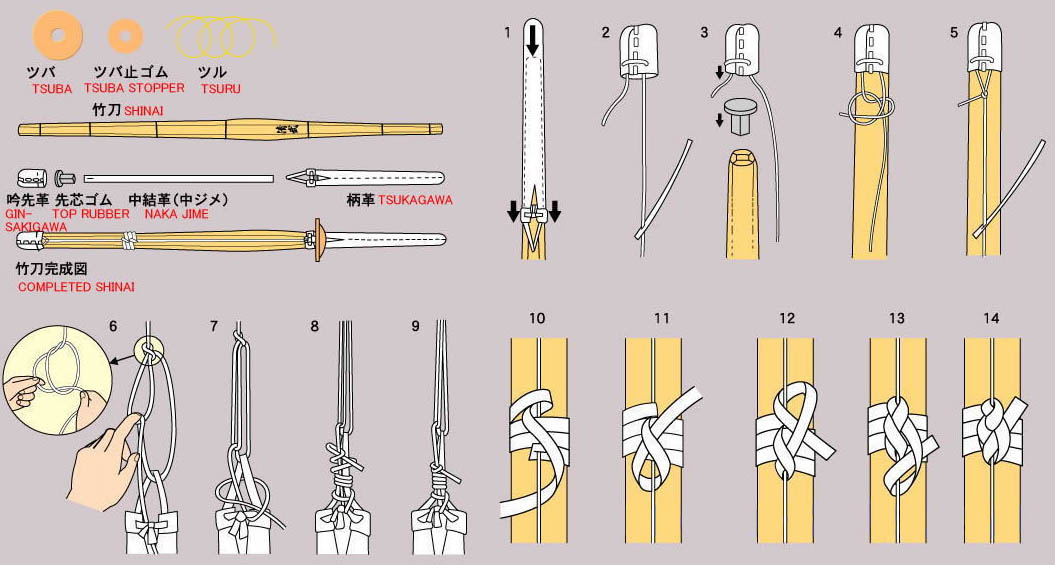
The following is a step-by-step description on how to re-tie the strings and knots on the shinai.
The Kensaki is the leather cap on the tip of the shinai. There are two methods to attach the tsuru to the kensaki. The default method (when you first buy the shinai) is a bit faster to attach, but can potentially rip or stretch the leather. I'll show how to attach by the other method.
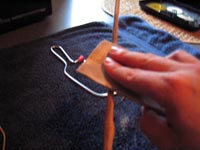
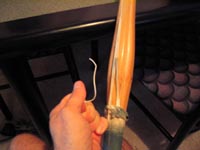
First, thread the tsuru in through and around the back of the kensaki. |
You should have about 5cm (2") or so length of string coming out of the kensaki to tie the knot. Create a "U-Shaped" loop of string with the excess tsuru. |

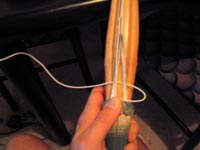
Take the long portion of the string and cross it over the front of the small loop you just made. |
Bring it around the back of the loop, and through the top opening between the two strings. |
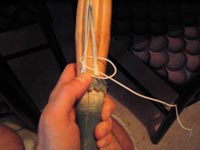
Now, bring the long bit down and through the small loop. |
Pull the knot tight. |
The Nakayui - part I.
Slide the nakayui onto the string through the small hole at one end. We will come back and tie this later. |
The "Tsuru Loop"
There are two methods for this part of the shinai. One is by attaching a small piece of leather to serve as the "loop", the other is to use the Tsuru itself to make a loop. I will show both methods.
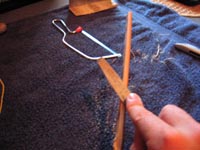
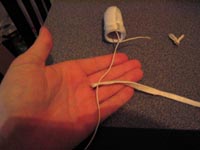
Method 1 - Leather Bit.
Begin by making the start of a simple knot in the Tsuru. |
Separate the Tsuru as shown. |
Now, "sit" the leather bit on the Tsuru as shown. |
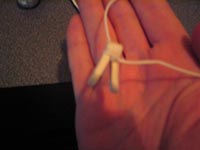
Pull the Tsuru tight. |
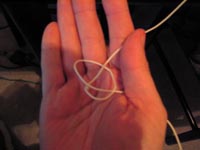
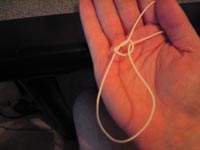
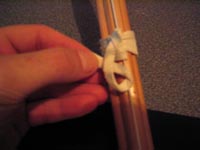
Method 2 - Tsuru Loop.
Begin the same way as above by making the start of a simple knot. Then, make a loop as shown, and pull the Tsuru tight.
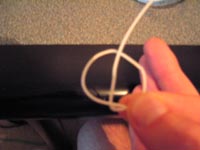
Begin the same way as above by making the start of a simple knot. |

Then, make a loop as shown, and pull the Tsuru tight. |
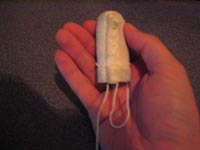
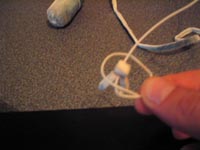
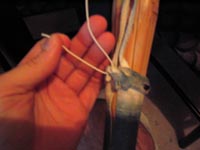
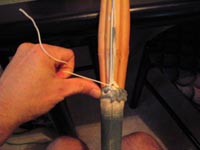
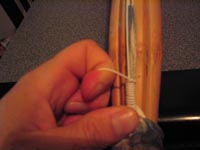
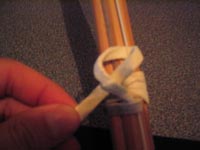
Attaching the Tsuru to the Tsuka-gawa
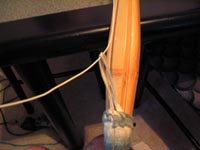
Pull the Tsuru through the leather loop attached to the Tsuka-gawa. |
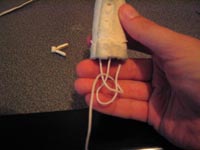
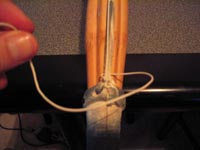
Bring the Tsuru up and through the "Tsuru Loop". |
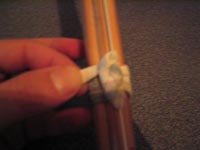
Bring the Tsuru back down towards the Tsuka-gawa and put it through the collar of the Tsuka-gawa. |
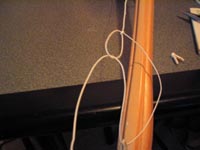
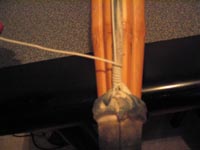
Pull the Tsuru tight! Be sure to keep the tension of the Tsuru tight while doing the following steps. (This part takes practice.) |
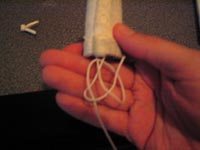
Wrap the Tsuru around the back of the leather Tsuka-gawa loop. |
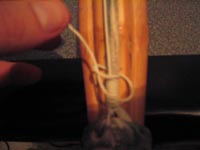
Now, bring the Tsuru back to the front, making yet another loop in the Tsuru. Bring the Tsuru through the loop, then pull it tightly to the left. |
This "knot" will help keep tension in the Tsuru. |
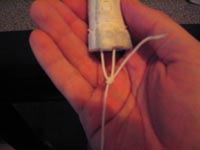
Continue to wrap (tightly) the excess Tsuru around the the Tsuka-gawa's leather loop. |
 Keep Going. |
 Finally tie it in a knot. |
 Pull tight. |
The Nakayui - part II
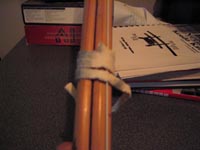
Wrap the Nakayui around the Shinai three times. |
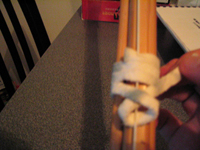
Create a loop in the Nakayui as shown, and pull it tight. |
This will help keep it from sliding up/down the Shinai. |
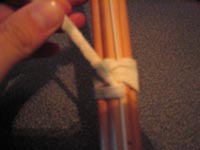
Bring the Nakayui up, loop it around the Tsuru and pull the Nakayui through the loop. Pull tightly. |
Repeat this "looping" at least three times. |
Pull the Nakayui tight through each loop. |
A good rule of thumb is that you should not be able to put two fingers (easily) between the Tsuru and the Shinai. If you can, you should tighten the Tsuru. Also, there should be no "gaps" or spaces between the parts of the Nakayui wrapped around the Shinai slats. If there is, you should re-tie the Nakayui.
